Cryptocurrencies are revolutionizing finance, but they also bring new responsibilities—especially when it comes to securing your assets. One of the most trusted tools in crypto security is the Trezor hardware wallet, a device that puts you in complete control of your private keys. If you've just received your Trezor or are planning to use one, the best place to begin is Trezor.io/Start—the official guide for setting up your wallet securely and correctly.
This article walks you through what to expect when you visit Trezor.io/Start, how to get started, and how to manage your crypto with peace of mind.
Trezor is a hardware wallet, which means it stores your private keys offline. This is a major step up from software wallets or exchange accounts, which are often vulnerable to online attacks. With Trezor, your sensitive data never leaves the device—reducing your exposure to phishing, malware, or hacking attempts.
Whether you're using a Trezor Model One or the advanced Trezor Model T, the goal is the same: to provide a secure and user-friendly way to store, manage, and transact with cryptocurrencies.
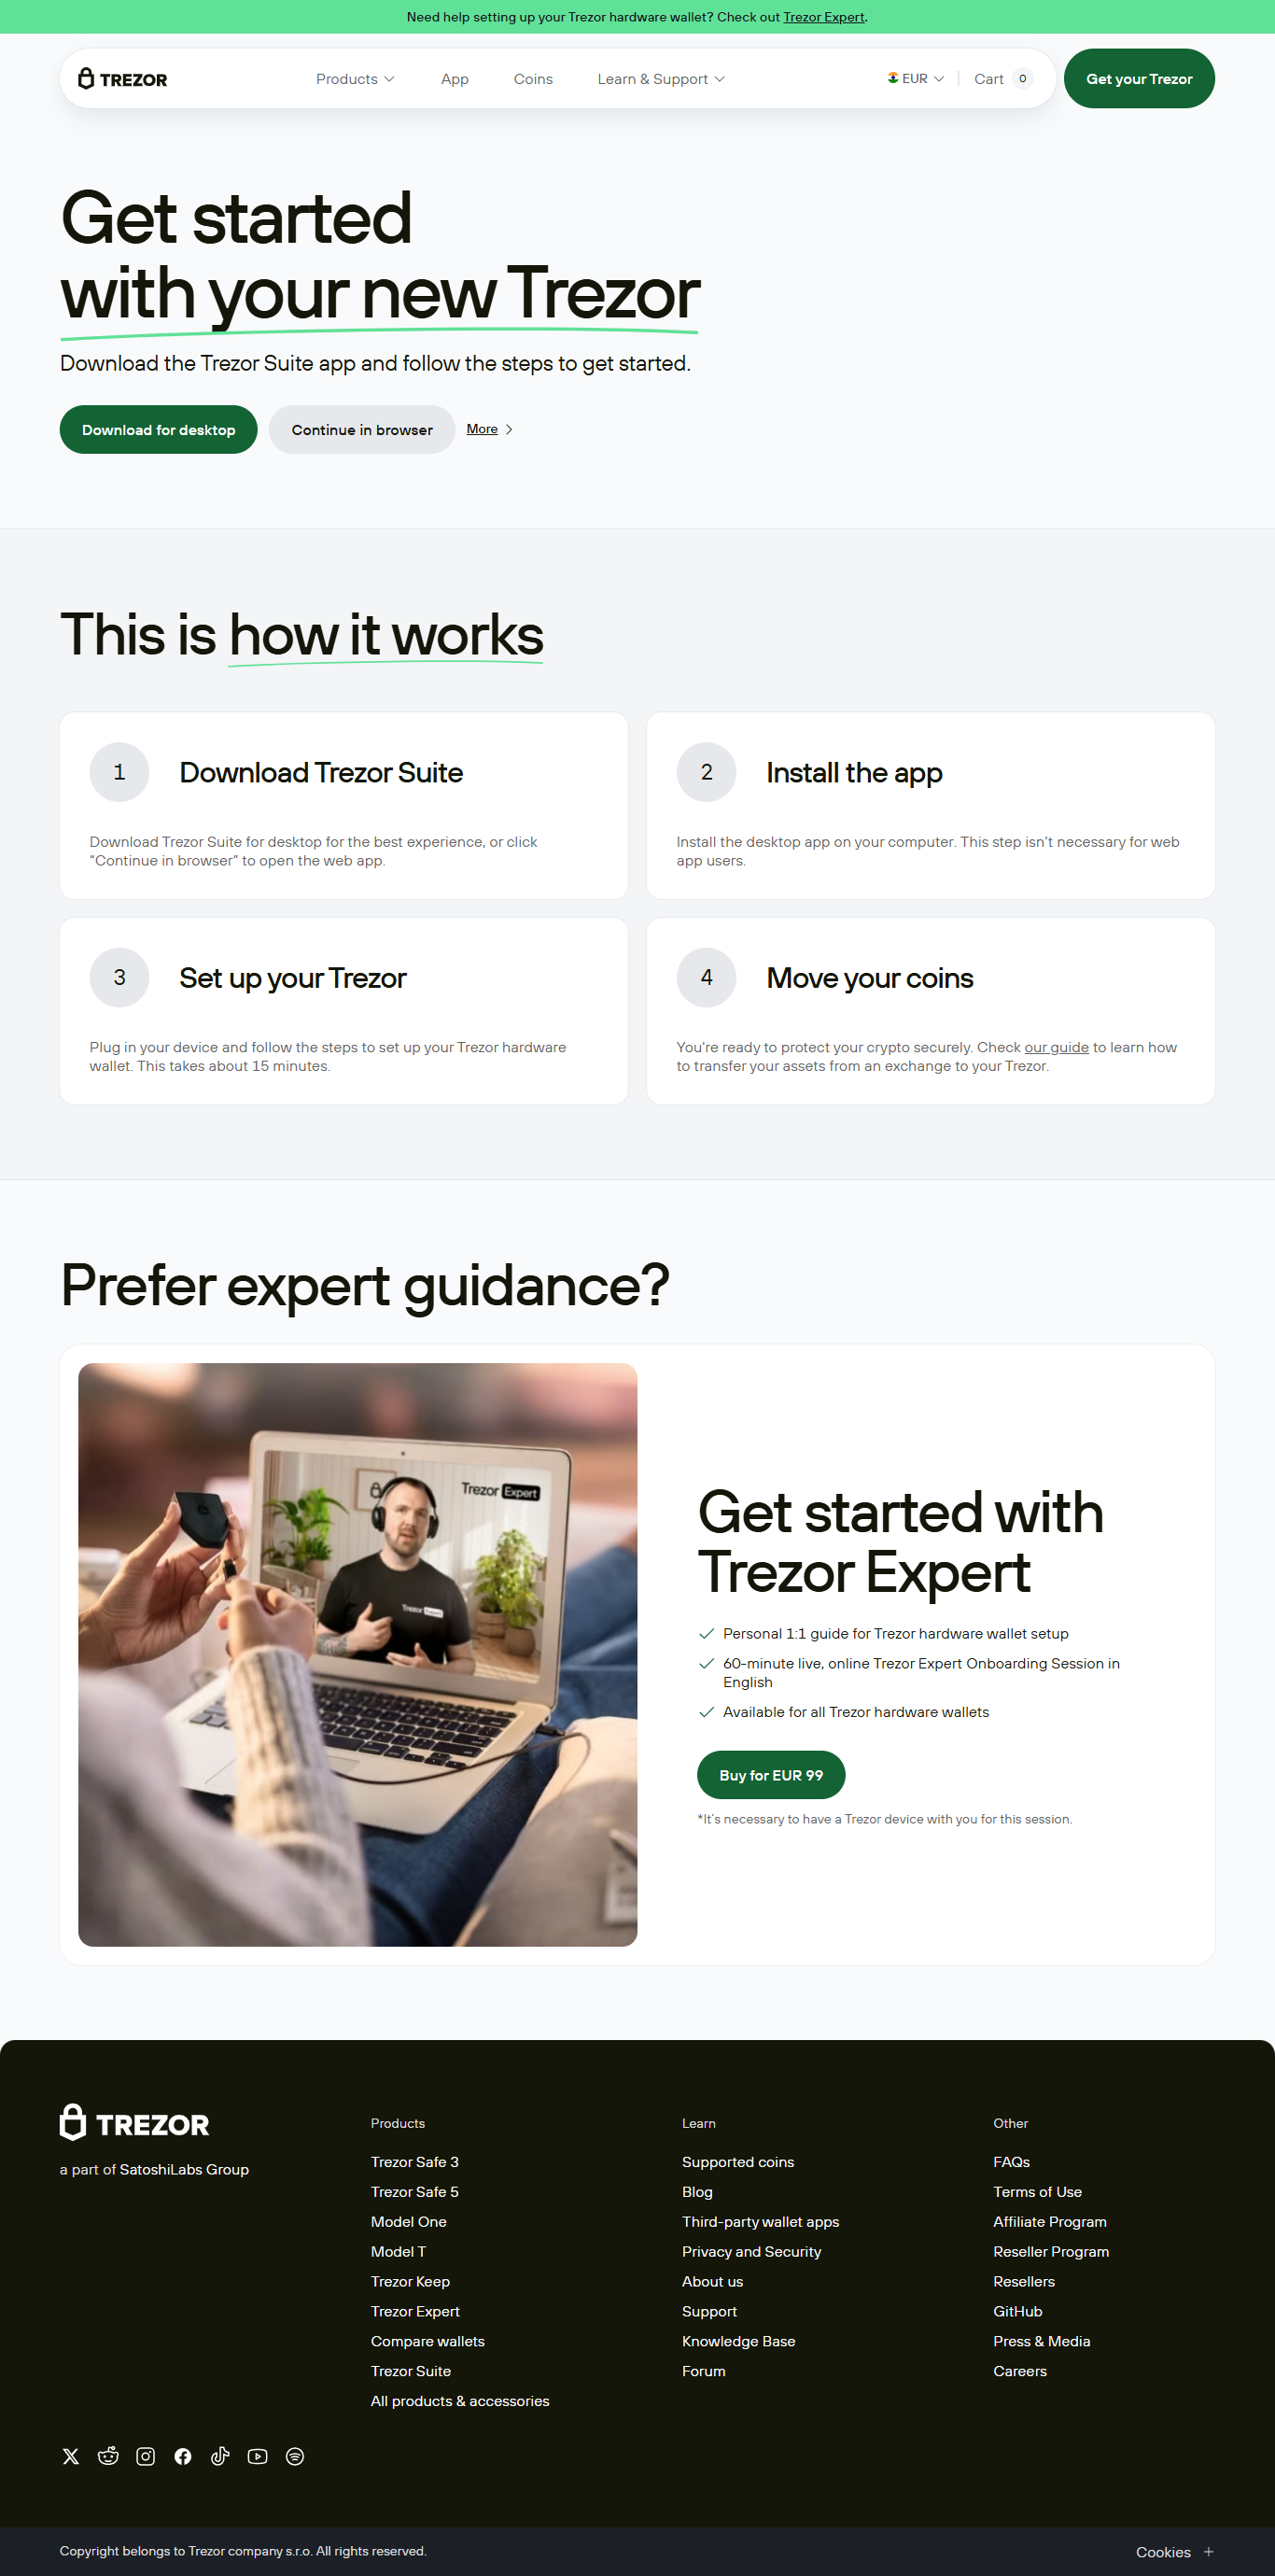
Once you open your Trezor package, you’ll want to begin setup at Trezor.io/Start. This site is the official portal for onboarding, ensuring you don’t fall victim to counterfeit instructions or third-party software.
Here’s what the setup flow typically looks like:
The site provides step-by-step visuals and text instructions to ensure even beginners can follow with confidence.
During setup, Trezor will generate a 12- to 24-word recovery seed—a master key to your wallet. This phrase is the only way to restore your funds if your device is lost, stolen, or damaged.
Here’s how to handle it safely:
Remember: If someone gains access to your recovery phrase, they control your crypto. Trezor itself cannot recover it for you, as the device is fully non-custodial.
Once setup is complete, you'll manage your crypto assets through Trezor Suite, the official desktop interface. Trezor Suite offers a clean dashboard with several useful features:
Each transaction must be manually confirmed on your physical device, ensuring nothing can be approved remotely or automatically—this is a key security benefit.
Setting up your Trezor properly is just the first step—maintaining its security is an ongoing responsibility. Here are a few best practices:
Trezor also allows you to set up hidden wallets using passphrases, giving you additional privacy and separation of funds.
If your Trezor device is ever lost or damaged, you can restore access to your crypto using another Trezor device and your recovery seed. During the new setup, you’ll simply choose “Recover Wallet” instead of creating a new one and enter the seed exactly as it was written.
Always double-check the entered phrase and keep it somewhere safe and private. It’s your ultimate lifeline.
Trezor stands out for its transparency (open-source firmware), robust community, and long-standing reputation in the crypto space. It gives users full custody of their digital wealth and removes reliance on third-party platforms.
The simplicity of Trezor.io/Start makes onboarding approachable, even for users new to self-custody. Within minutes, your device is ready—and your assets are secured in one of the safest environments available today.
Setting up a Trezor device through Trezor.io/Start is a simple but powerful step toward financial sovereignty. As cryptocurrencies grow in value and adoption, taking control of your private keys is no longer optional—it’s essential. Trezor delivers the tools and confidence to navigate the digital asset space securely.
Whether you're a beginner or seasoned investor, having a hardware wallet like Trezor gives you peace of mind in an otherwise volatile environment. Start secure. Stay secure—with Trezor.